Meet CoBot.
Product Brief:
With this project, we aimed to create a collaborative robotic arm that could be operated by multiple users at once. Instead of using our TA’s code, we took this project a step further and wrote our own code to allow the development of different modes as well as to build the hardware for an actual arm. The proposed application lies within the surgical field, which has already seen the rise of surgical robots to eliminate human error. Our team ultimately created a robotic arm with distributed collaborative control that allows for smooth and easy movement of the arm.
Priyanka Kadam, designsbypriyanka.com
Ahmed “Reese” Abouelnasr
Colby Azersky, ColbyAzersky.weebly.com
Tyler Frasca, tmfrasca.info
Background and Motivation
Robotic arms and manipulators are one of the most recognizable aspects of the robotic industry, and for good reason. A simple manipulator is one of the first systems a roboticist will learn how to control, and has a myriad of uses. When coupled with remote communication, the use of robotic manipulators has expanded our operating capabilities beyond environments hospitable to humans, such as the surface of mars, as well as drastically increased the precision and accuracy of any task a robotic arm would be able to handle. In this project we explored the idea of a robotic manipulator that could also be collaboratively, as well as remotely controlled.
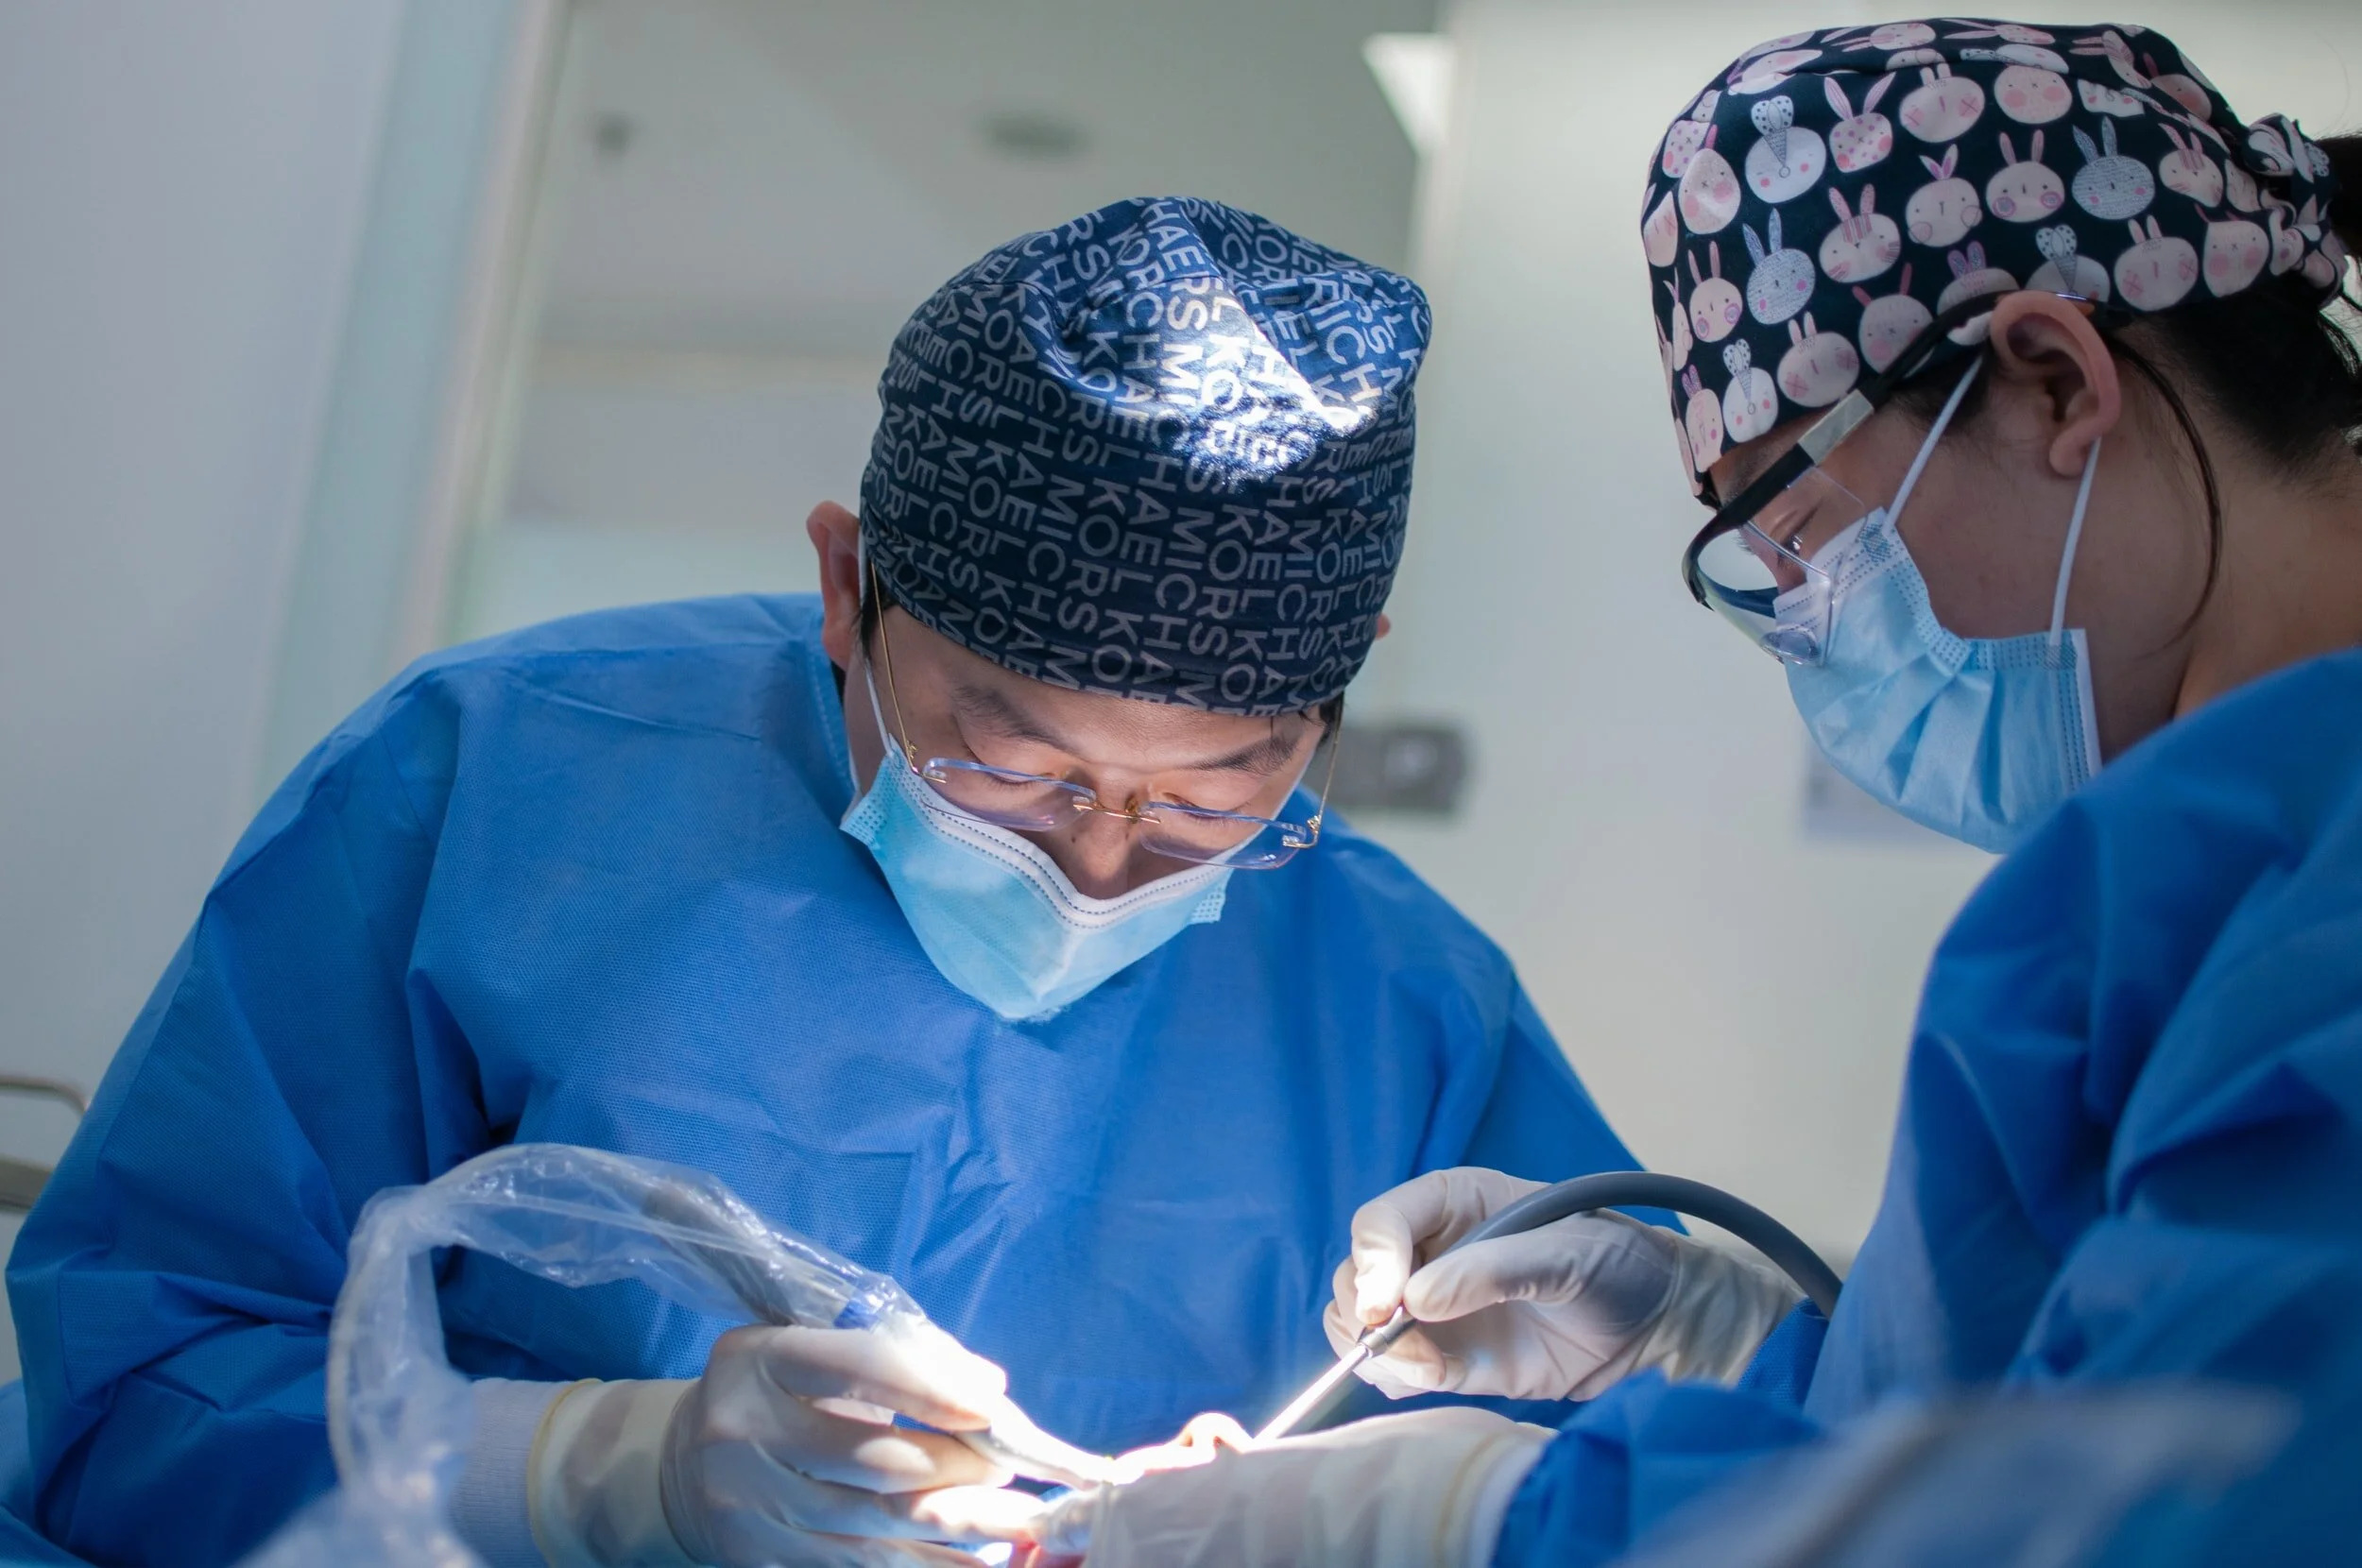
Collaborative control allows for much more efficient operation of a robotic arm conducting a time sensitive task, such as surgery or hazardous exploration. Scientists encountering a narrow window to communicate with their robot could operate a sample collecting instrument in tandem. Multiple surgeons with different specialties could collaborate to conduct an operation in record time. It could also allow for enhanced teaching practices. For instance, a surgical intern could potentially possess control of a portion of a surgical robot while their teacher is in full command while they are learning. The possibilities of collaborative robotic control are vast, and our project attempts to prototype one aspect of it, and apply it to the surgical field.
User Profile, Psychology, and Needs
Our team had determined three potential applications for this type of remote, collaborative robotic arm technology. These three target users are: assistive technology for users who struggle with motor control, applications which may be hazardous to humans (radioactivity or other forms of bodily danger), and finally, a collaborative robotic surgery robot. As a team, we decided that the surgical robot was the best choice for this application.
The users of this robotic arm surgery robot would be surgeons. However, this will be an innovative product because these surgeons could perform the surgery remotely and collaboratively. If an emergency surgery was needed, a surgeon from anywhere in the world would be able to connect and perform the surgery. This may save the patient’s life if there were no surgeons in the area that could perform the procedure. The collaborative aspect of this device would also be helpful if certain surgeons with certain expertise could collaborate on different portions of a complex surgery. We could also see this device being an instructive tool for new surgeons to observe and simulate surgeries without having an actual patient in front of them. The user of this product would range from a student learning from their first operation to a seasoned surgeon with a specific expertise. The users could also be anywhere in the world, they do not have to travel to the patient.
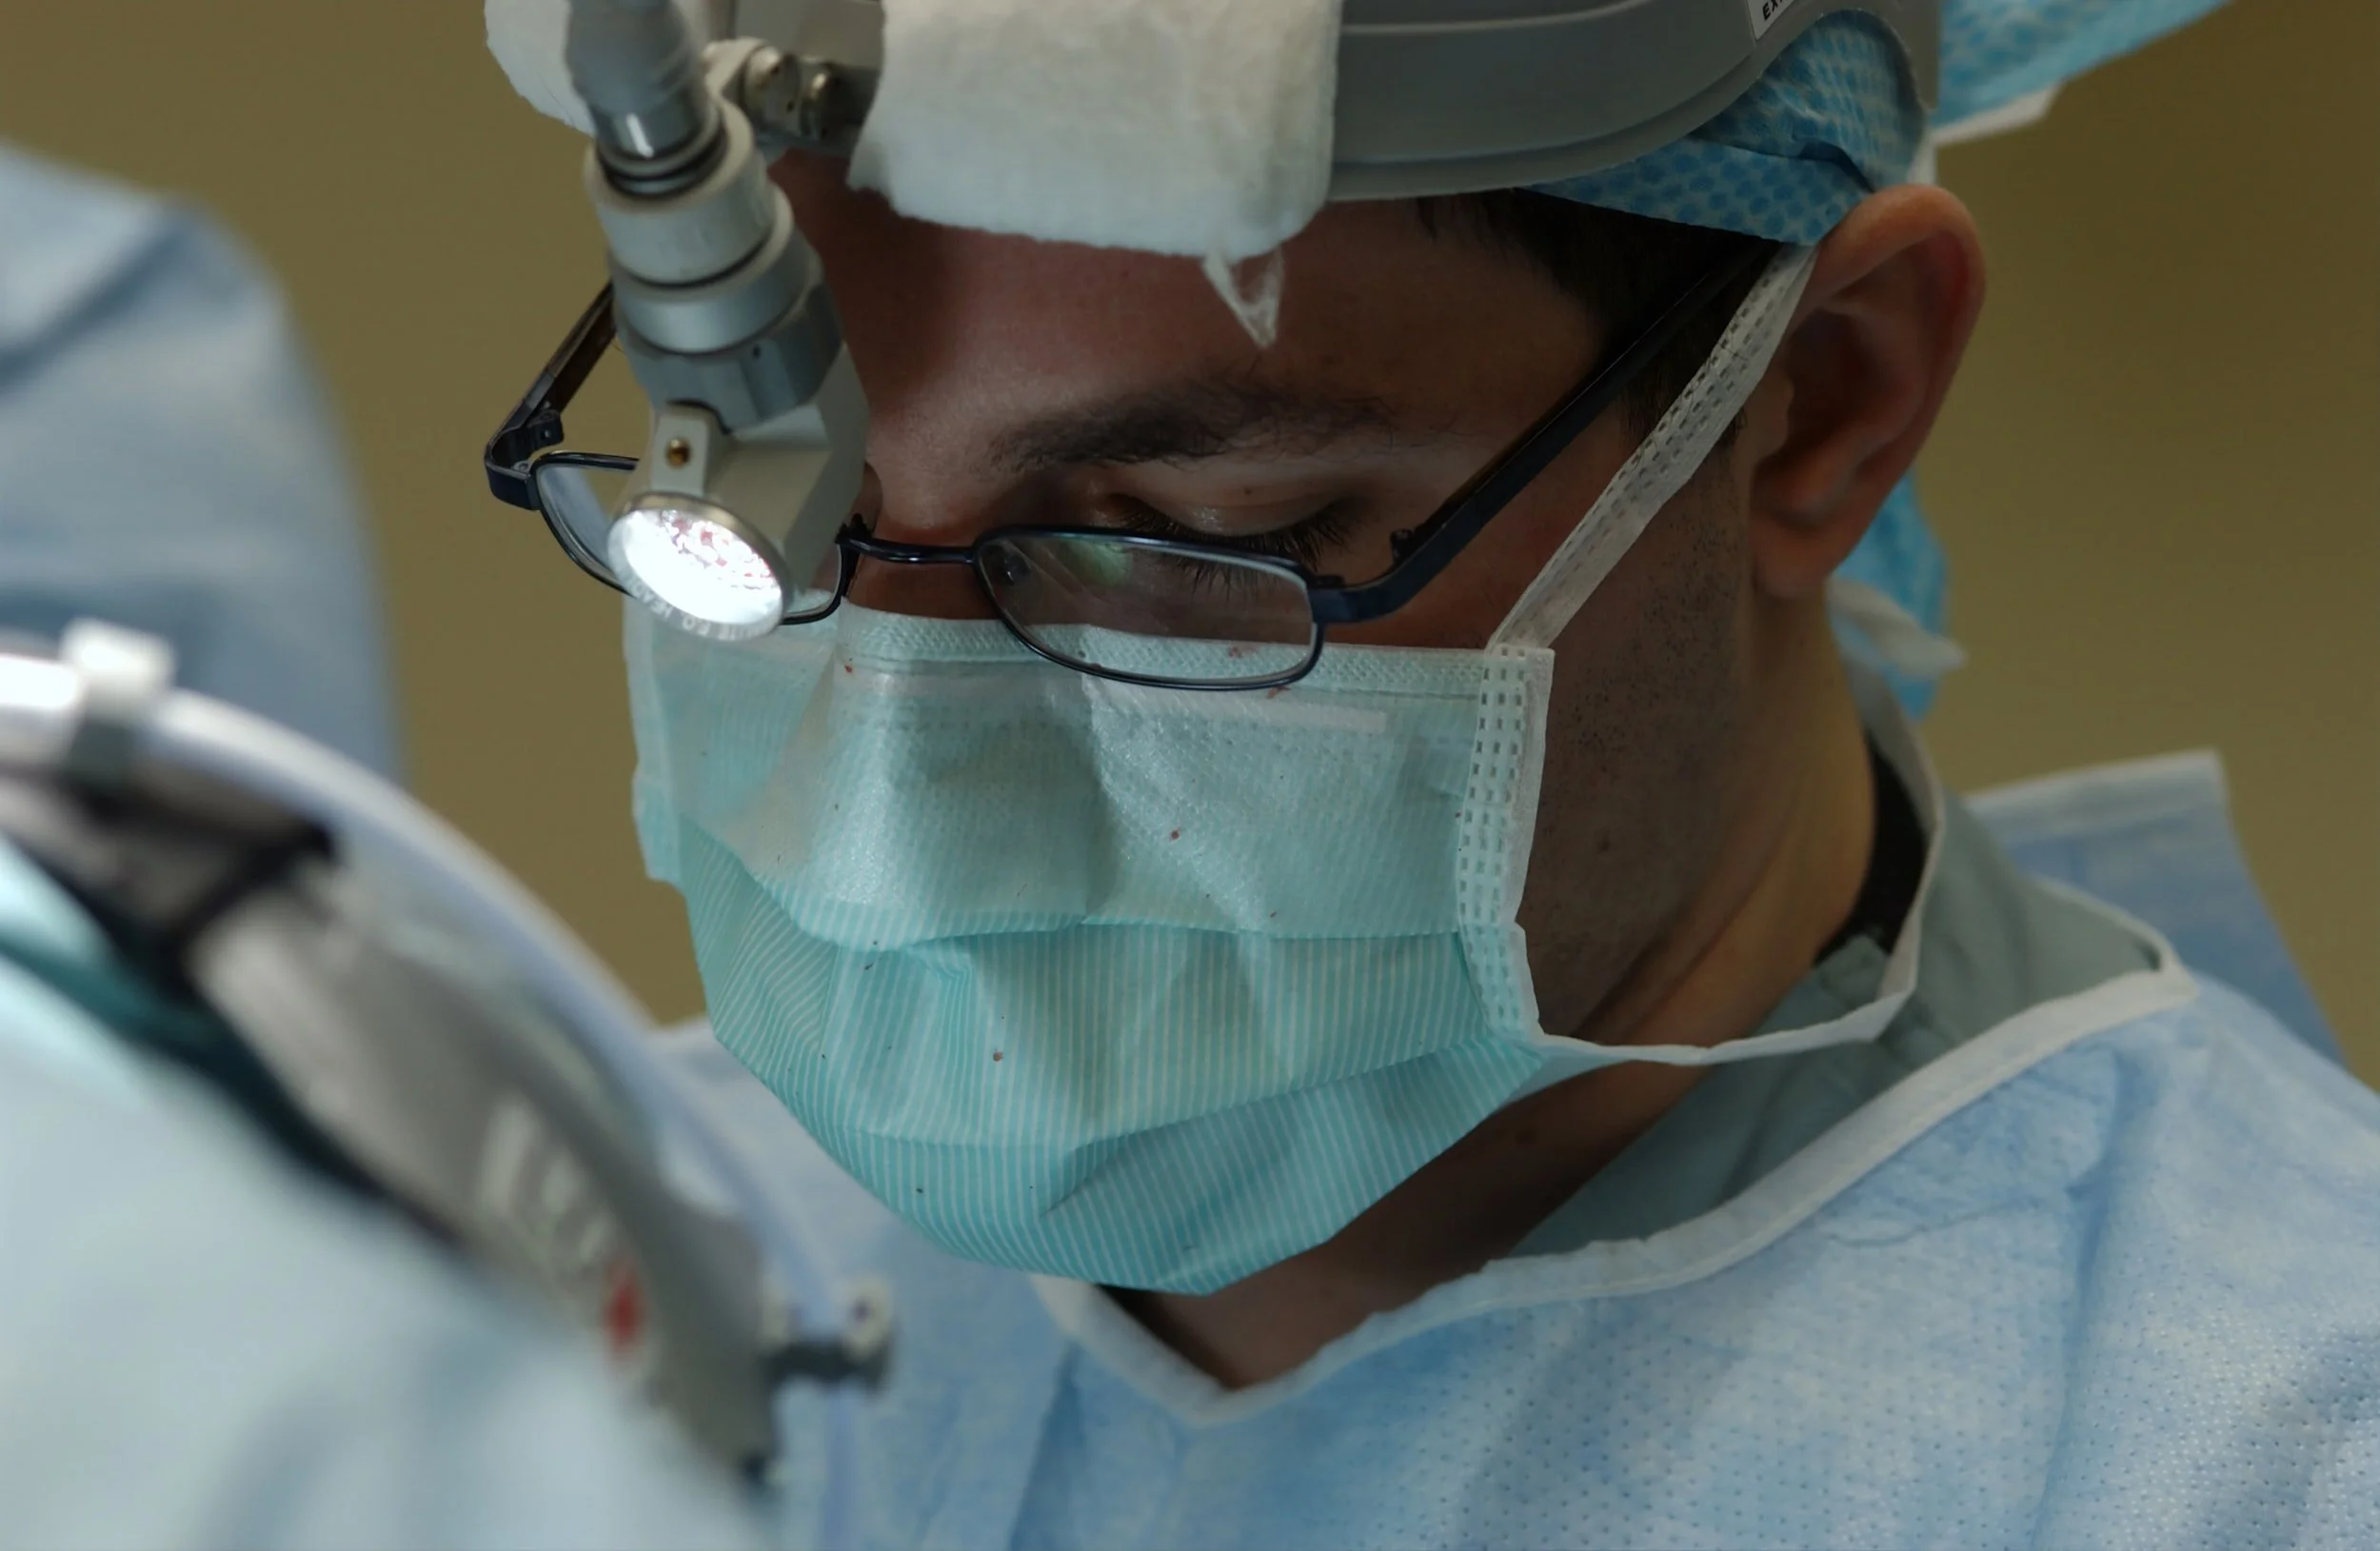
As surgeons, we imagine they would desire two things specifically, control and precision. No surgeon would want to give up any control to a virtual device that they would have had if they were in person. This means that our device would have to give the surgeons all, if not more, of the freedom of movement that they would have in a non-virtual surgery. Also, surgeons would desire precision of movement in the robot. In fact, using this robot could give the surgeon even more precision by removing involuntary movements, such as hand-trembling. Hopefully, the surgeons would value these aspects of this device because they enhance their surgical abilities rather than detract from them. Surgeons would fear the direct opposites of what they desire: lack of control and precision. Robotic arm movements that the surgeon did not intend could be disastrous to the patient. Our device would have to be extremely reliable in terms of precision and connectivity (if the surgeon was connected remotely via the internet). Surgeons would definitely be skeptical of this device at first, but surgical robots have already begun to emerge in hospitals. Therefore, this device is realistic and able to meet the expectations and requirements of surgeons.

Task Analysis
We are using the Sheridan-Verplank automation strategy for determining levels of automation, referenced here:
https://www.hfes-europe.org/wp-content/uploads/2014/06/Save.pdf
1. Offers no assistance; the human must do it all
2. Suggests a complete set of alternatives to do the task
3. Narrows the set of alternatives to do the task
4. Recommends one alternative to do the task
5. Executes the recommendation if the human approves
6. Allows the human a restricted time to veto before automatic execution
7. Executes automatically, then necessarily informs the human
8. Executes automatically, then informs the human only if asked
9. Informs the human only if it decides to
10. Selects the method, executes the task, and ignores the human
Some constraints we identified during the task analysis included the user having to manually complete many of the tasks that are required for the robotic arm to work. In the future, being able to automate more steps from the task analysis could further improve this model. We also hope to improve this system in the future by expanding the capabilities of the robotic arm so more people can use it simultaneously.

Solution Description, System Design, and Implementation
Our proposed solution contains two main subsystems: 1) the robot controller and 2) the user controller. Each user controller communicates to the robot controller using publisher/subscriber messaging passing via the cloud. Utilizing the cloud eliminates the need for each user/surgeon to be physically in the same room as the other users/surgeons or patient. The diagram above shows an overview design of the system, which consists of three user controllers. Each user controller allows the user to either control a specific joint of the robot with a potentiometer (think of a surgeon using a joystick) or specify a specific location for the end effector to position itself. When the robot controller receives the messages it determines the angle for each joint motor and assumes the desired position.

This controller flowchart describes how each part of the system interacts and sends information to the robot controller. The green block describes the physical controller that the user can manipulate containing a potentiometer and a button.
Looking at the controller flow chart, the button allows the user to switch between control modes. The first control mode is for joint angle control, the second is the end-effector location control, and the last mode is fully autonomous mode. The physical controller continuously polls the potentiometer and sends the value to the controller on the computer (gray block) via serial communication. Additionally, the physical controller has an interrupt service to handle the button press so the microcontroller isn’t continuously polling two inputs and will only send the button value when pressed.
When the computer receives a value from the microcontroller, it first evaluates the type of input. If the input is a button press, then it will change the mode by incrementing it by one. This can be easily extended so there is a button for each mode instead of having to cycle through each mode. If the input from the microcontroller specifies a joint angle, then the computer controller will check the current mode. If the mode is joint-angle mode, then it will generate a message containing the joint and the joint value to publish to the cloud. However, if the mode is either end-effector or autonomous mode, then the joint value will be ignored.
The aim of our system is to allow the user to manipulate the arm with simplicity and ease. One of the easiest ways to control a motor position is using a potentiometer/joystick. The user can rotate the potentiometer to a specific angle and have the motor move accordingly. Allowing each surgeon to control a separate joint allows them to work together to move the arm to the correct location. However, in many cases, this might not be the best way to control the arm. Therefore, the surgeon can also specify a location for the arm to move. Ideally, the surgeon would be watching a video feed of the processes and then would be able to click on a desired relative location in the patient. However, as a first step, our system allows the surgeon to specify x,y coordinates and a rotation angle.
Currently, to control the end-effector of the robot, the user will use a graphical user interface (GUI) to input the location of the end-effector. The user will first need to change the mode to mode 2, end-effector mode. Once the mode has changed, then the computer controller will process the values from the GUI. The end-effector mode switches to a slightly more autonomous system, in that the robot needs to figure the joint angles and then move them accordingly. Although this mode allows a single user to manipulate the robot arm, it may be difficult to know what coordinates to specify. In future iterations, this system will swap out the coordinates with an interactive video feed. The user will then be able to simply click on the desired location using their mouse, and the robot will move the end-effector to the position.

This flowchart for the robot provides a description for how the information received from the cloud is processed and sent to the motor controller.
The robot consists of three parts: the cloud service listener, the robot computer controller to process the messages, and the motor controller to move the robotic arm. When the listener receives a message, it sends the message to the robot controller. The controller evaluates the incoming message type and either updates the mode or the desired goal positions/angles and updates a flag so the robot controller will move the arm. Once the ‘should move’ flag is true, then the system will determine the current mode and act accordingly. In the case when the mode is either end-effector or autonomous mode, the system will calculate the joint angles using inverse kinematics. Then the system will send the joint angles to the motor controller which ultimately maps the angles to those on the motors.

Interactions
How will our users interact with this system?
The two main ways the user interacts with the robotic arm is through a physical controller and through a GUI. The physical controller allows the user to have more control over the exact movements the robot makes, while the GUI provides more autonomous control. In the application we envision, in either case, this system allows a surgeon to perform surgery without needing to be in the same room as the patient. The current system setup allows multiple users to control individual joints, but this may become very difficult in more complex situations.
In the future, we aim to to modify the input to allow a single user to control the end-effector with one or more potentiometers/joysticks to make it easier to manipulate the arm. Not only does this system allow the user to remotely operate on a patient, but it also eliminates error from humans, such as due to shaking hands. The controller input can be updated to compensate for constant minute changes from the input to allow for smooth and consistent movements. Additionally, while in the end-effector mode, the user can specify a location for the robot to go and then can continue working on something else. For example, if the robot arm has a camera on the end, then the surgeon can specify where to move the camera and then can continue working with other instruments.
User Walkthrough
How would someone use this human-machine system?
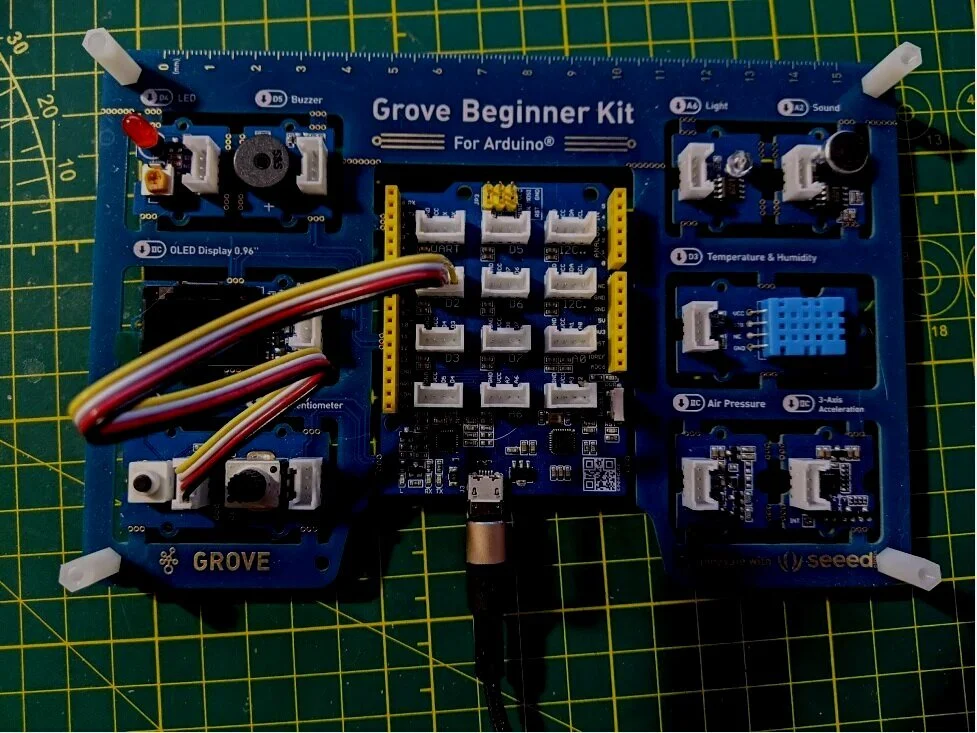
In our prototype, three users have control over the three actuators of the robotic manipulator that we have built. These commands are sent over PubNub, and so they can be executed completely remotely using individual Arduinos. A fourth person can change this mode of control to that of reverse kinematic actuation, where the coordinates of a point are imputed into our custom GUI, and the robot’s end effector moves to that location. We see this prototype as a physical proof-of-concept of our envisioned application to surgical robots.
Surgery is an incredibly varied field, but we have envisioned how a potential surgeon would interact with our proposed collaborative surgical robot. We recognize that surgery is done as a team comprised of a surgeon, a resident surgeon, an anesthesiologist, and a nurse Therefore it would be practical for any robotic system to also incorporate the roles of these other members of the team. In our proof-of-concept prototype, one person was responsible for the control of each actuator, and another was responsible for changing the operating mode. Of course, we don’t imagine the roles being exactly divided up like this, but it would make sense for any auxiliary control of the manipulator to be delegated away from the surgeon so they can give their full attention to the main surgical task. The surgeon could delegate individual tasks, and these operations would then appear on the resident surgeon’s or nurse’s monitor. To reduce the clutter on the surgeon’s screen, changes in control mode could also be delegated away, so that the surgeon is in a familiar environment of verbally issuing commands instead of electronically inputting commands.
Teaching mode is another main major feature of this system. A student could be responsible for the individual manipulators that guide the robot into place, but the teacher would have control of the end effector and would have the ultimate say so in what actions the robot performs. Before each action is performed by the student, the teacher could receive a prompt on their monitor to approve it. The teacher could also send warnings to the student’s monitor when they are performing risky or poorly executed actions.
The videos below show our robotic arm in action. The first video shows general use of the arm, and the second video shows the end-effector mode.
Future Directions and Conclusions
Regarding documentation of operation, the GitHub repository of our code can be found below:
More information on operation can be found in the README file on GitHub. Should you want to try operating this system using our code, each piece of the system can be found in our repository linked above. We built the actual hardware for the robotic arm, so that would need to be set up for others to try the system.
Some constraints necessary for this process to work included the system only allowing 3 users to operate the robot at once, as well as the delegation of tasks when multiple people are collaboratively using the robot, such as one person changing the operating mode while another is responsible for the control of each actuator.
As for future directions with this project, we would like to swap out the coordinates input in end-effector mode with an interactive video feed, so the desired location and the robot will move the end-effector to that position. We would also like to expand the capability of this robot to allow more users to use it simultaneously. Our system ultimately performed well, but a few other potential avenues for exploration that would improve performance include:
Creating a three bar linkage system
Add PID controllers for smoother movement
Actuating the end effector angle
Adding a gripping mechanism to the end effector
More modes, such as a teaching mode or autonomous mode